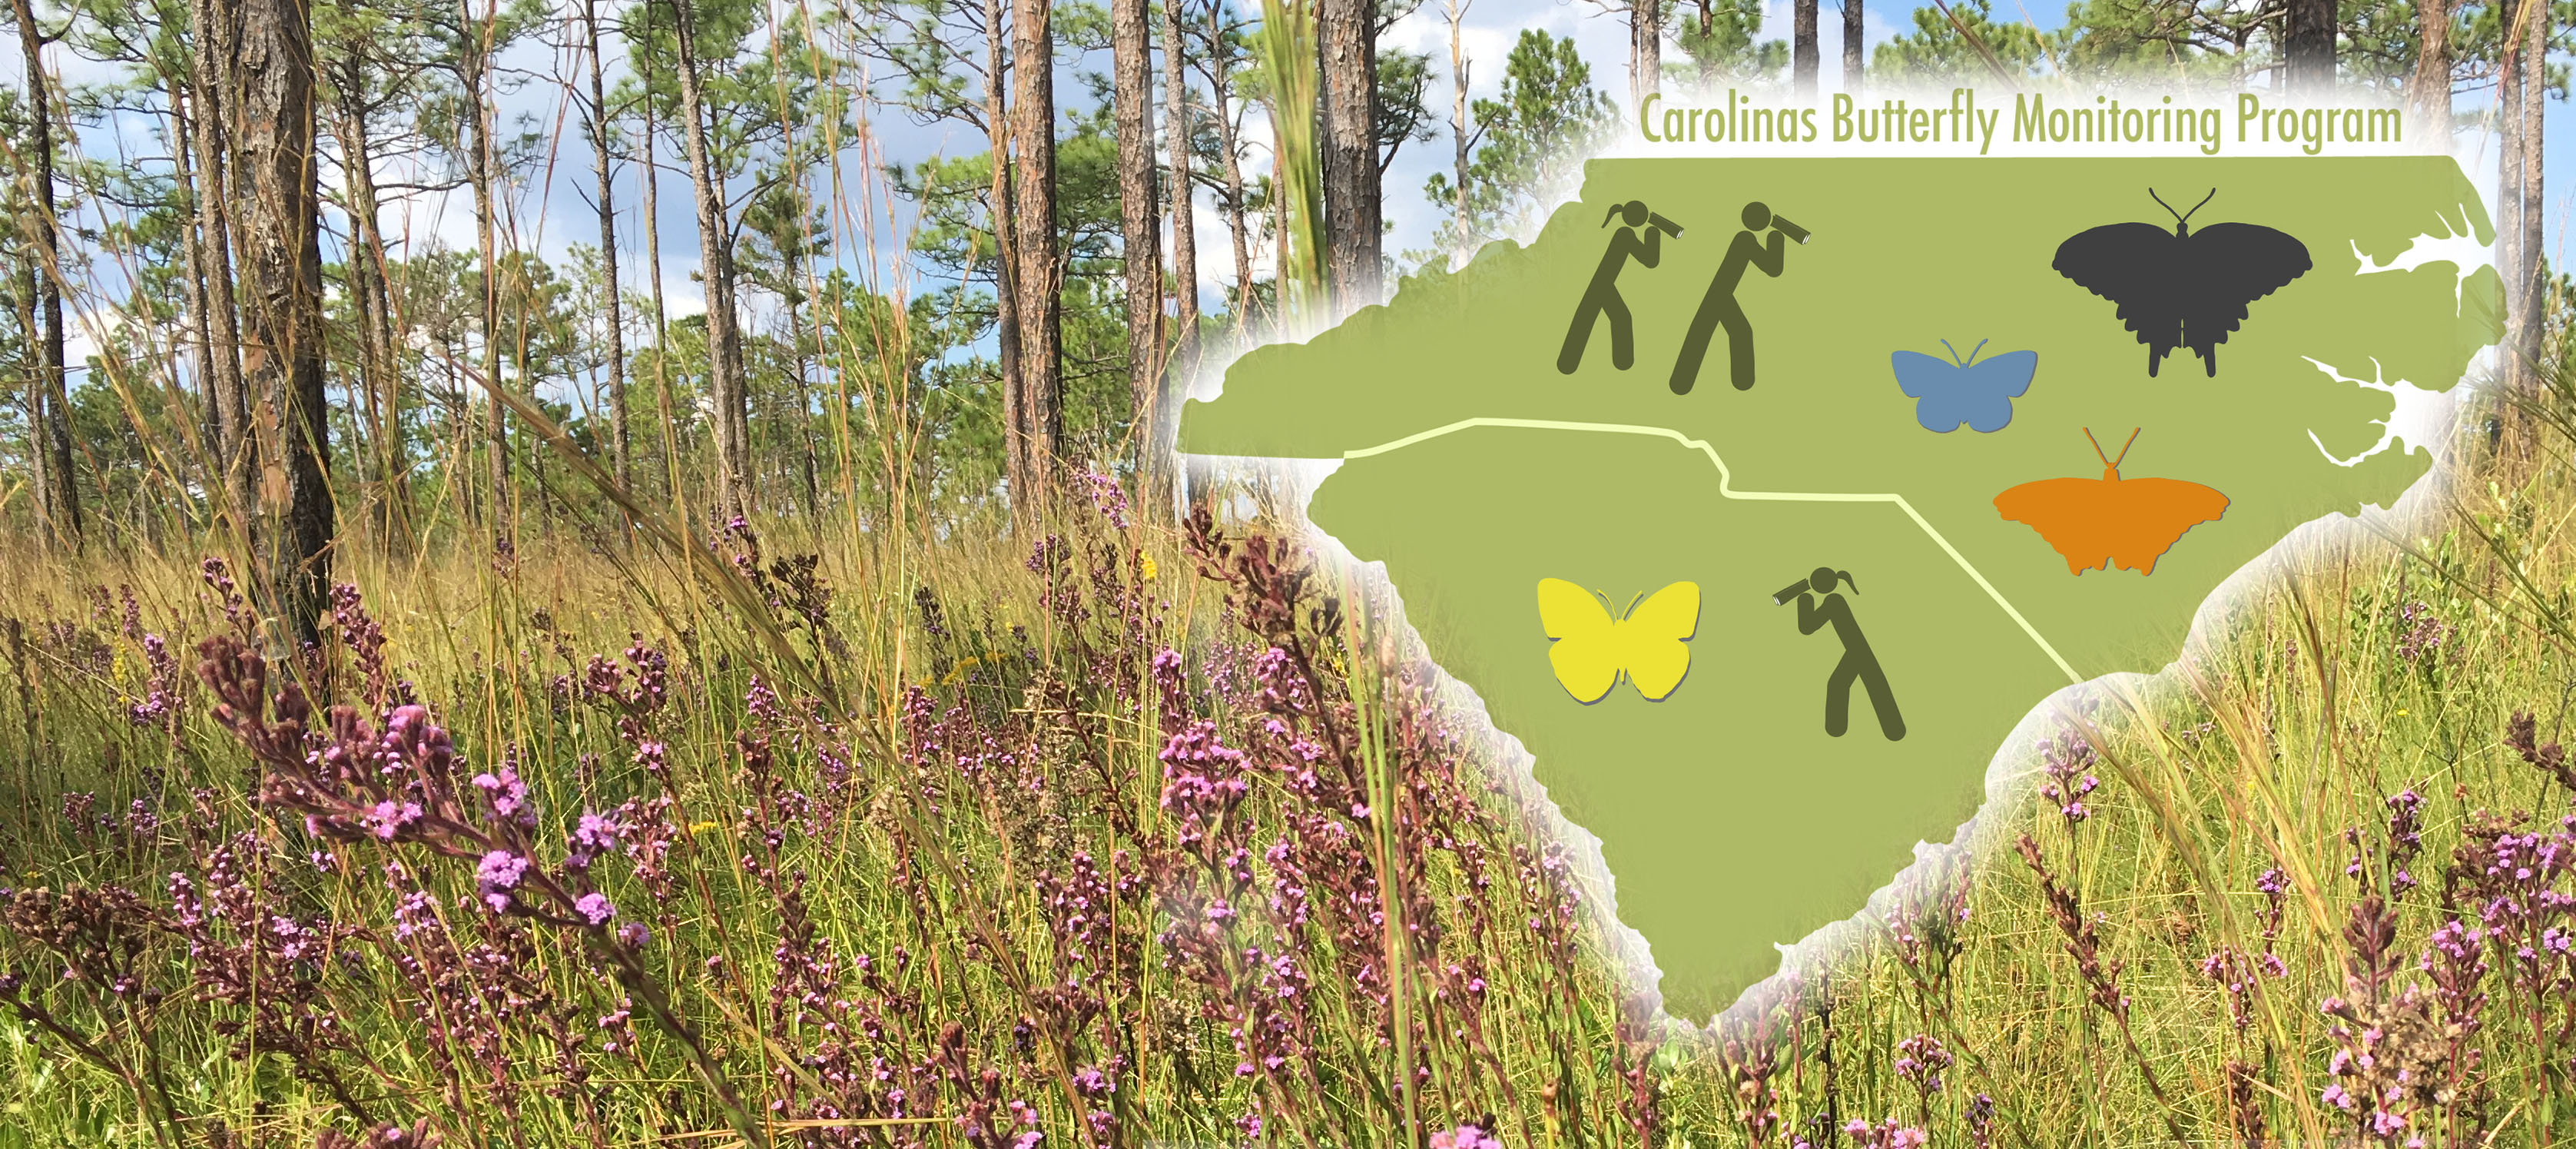
THE BASICS
- Work with the program administrators to establish or adopt a permanent survey route
- Conduct your survey (i.e., walk your route), ideally once per week (March through November), under appropriate weather conditions, and record every butterfly you encounter within 5 meters (~16 feet)
- Enter your data online at www.pollardbase.org/carolinas
- Stay in touch with program administrators to let them know how you are doing, if you have any questions, if you have exciting stories to share, and for any program updates
DOWNLOAD BLANK FIELD DATA SHEETS
Choose the best option below based on the number of Sections your route has:
If you'd like me to create a Field Data sheet with >4 sections, just let me know!
DETAILS and FAQs
WHEN TO CONDUCT YOUR SURVEY: TIMING AND WEATHER (revised 4 Apr 2026)
- The Carolinas Butterfly Monitoring Program season formally is March 1st through October 31st, but surveys before or after those dates are also welcome and valuable!
- Conduct your surveys between 10am and 4:30pm with weather conditions warm enough and sunny enough. Below are guidelines for the piedmont. Mountain threshholds may be 5-10 deg cooler.
- Springtime:
- Sunny and at least 60 deg F (55 deg in the mountains)
- At least partly sunny and at least 70 deg F, especially if at least partly sunny in the morning.
- Summertime:
- Sunny and at least 70 deg F
- Any cloud condition and at least 80 deg F, especially if at least partly sunny in the morning
- Autumn: threshholds will drop again as we approach November
- Sunny and at least 65 deg F
- Any cloud condition and at least 75 deg F, especially if at least partly sunny in the morning
- Winter (Nov-Feb): threshholds will drop even for the off-season (continued surveys are encouraged!)
- Sunny and at least 55 deg F
- At least partly sunny and at least 70 deg F, especially if at least partly sunny in the morning
- Do not conduct your survey in the rain, regardless of the temperature.
- If it starts raining during your survey and it appears to be a passing shower that you can wait out, it is OK to pause your survey, and then continue when the rain stops. Just keep track of how many minutes the delay lasts.
- In general, sunny conditions are MUCH better than cloudy conditions, but cloudy is OK if it is warm enough!
CONDUCTING YOUR SURVEY
- Before leaving home, be sure to take with you: binoculars, cell phone (and extra camera if you wish), clipboard with data sheet, pencil, extra pencil just in case, water & snack
- Recommended Clothing and Gear: long pants, hat, sunscreen, sneakers or hiking boots, water bottle
- Once you arrive at your survey starting point, fill out the top of your data sheet, including:
Route Name, Date, Personnel: Include your name plus the names of anyone with you. If someone accompanying you is the scribe, please note that here as well.
Note: only butterflies first spotted by the primary observer may be recorded in the Section columns.
Scribes or other personnel may only point out butterflies that have passed the 5-meter box of the primary observer, and those observations must be recorded in the incidental column.
If the primary observer spots the butterfly first, then other personnel are allowed to assist with butterfly identification, if necessary.
Start Time: Record the starting time from your watch or cell phone
Start Sky: Scanning the sky from horizon to horizon, what is the % cloud cover based on these criteria: Clear <10%, Mostly Clear=10-25%, Partly Cloudy=26-74%, Mostly Cloudy=75-90%, Overcast> 90%
Start Wind: Record your impression of the current, steady (not based on the occasional gust) wind conditions within 5-10 meters of the ground (not up in the treetops) based on these criteria: RELATIVELY STILL= <4mph, smoke drifts; MODERATELY WINDY=4-12mph, leafy twigs in motion; WINDY=13-24mph, dust raised and small trees sway
Start Temp: Record the starting temperature in deg. F if you have a way to make that determination. The local weather app on your cell phone local weather app works well for this
- After filling out the information above, start walking your route. Keep your pace slow-moderate, approximately 2 miles per hour.
- Recording Species:
1. In the Section Columns of your data sheet, only tally the individuals you spot within a 5-meter (~16 feet) forward radius (see figure).
When you encounter a butterfly within a 5-meter forward radius of you (either to your sides or in front), write down its identity to your level of certainty, which may be the species name, or may be something like Unidentified Swallowtail.
After writing down the identity of the butterfly, place a tally mark (slash or dot, depending on your system) in the appropriate column.
If the butterfly is behind you (e.g., you see it out of the corner of your eye) or farther away than 5 meters (outside your 5-meter box), tally it in the Incidentals column of your field sheet.
If that same individual later moves into your 5-meter box, erase the mark from the Incidental column, and add it to your appropriate section column.
2. Explanation of 5-meter forward radius:
As you walk forward, imagine a 5-meter radius where you are in the middle of a circle (or bottom-center of a cylinder).
Your 5-meter count area stretches 5 meters to your right, 5 meters to your left, 5 meters ahead, and 5 meters high, effectively forming a semi-cylinder, often referred to as your 5-meter box.

3. Use the notes column as you wish.
Most of the time, it stays unused, but it is great to record things like:
(1) if the butterfly is nectaring, what species of flower is it using?
(2) if the butterfly is laying an egg, on what species of plant is the egg being deposited?
(3) anything else you find interesting!
4. If your route doubles back on itself, only record butterflies the first time you pass through.
If your route is one way (out-and back), then only conduct your survey one way (on the way out is preferred).
Please do not tally butterflies in both directions!
However, if you encounter a species while walking back that you did not see on the way out, you can tally that in the Incidental column.
5. You can pause the survey briefly to chase after a butterfly for identification purposes.
If the pause is only a minute or two, you do not need to record it.
If the pause lasts longer than ~4 minutes, then note the paused time in the appropriate section column on the data sheet.
After your pause, return to your survey departure point, and resume the survey.
6. Try not to double-count butterflies, but if you are not sure if an individual was previously tallied, then go ahead and count it.
7. When you complete a route section, record the time of day and approximate per cent of time the sun was shining.
If you move from one section to the next and realize you forgot to record these things, that is OK.
They are not critical.
8. Once you complete your route, please record your overall end time and weather data.
This IS critical!!
Observations are translated by data analysts into number of individuals per observation hour, so without start and end times, those calculations cannot be made, and the data you have spent your time collecting become less useful.
9. If you notice a significant change in any route section habitats (e.g. a new clearcut, power line recently mowed or sprayed, new building construction, change in agricultural management, etc.), please note this on your data sheet and in the survey comments on PollardBase.
10. It is OK to conduct your route backwards occasionally if you need to.
Just note that you did this on your data sheet, and be sure you are still tallying data in the original and correct habitat sections.
11. Using your phone, take a photo of your completed data sheet as a backup copy.
SURVEY ROUTE DETAILS
Survey routes are designed to monitor all butterflies that inhabit an area.
Work with your program director to have a route assigned or to create a new route.
Routes must be easy to locate so that they may be repeated in future years, since the CarBMP is designed to be a long-term project.
Routes paths should be obvious and designed to take advantage of existing trails.
Ideally, survey routes should be located where access will forever be available, for example in nature preserves, parks, and other natural areas.
Routes are generally between a half-mile and two miles long, and they should take approximately between a half-hour and two hours to complete.
If local conditions require a route path to be changed, please contact your Director.
It is likely that a new route will need to be created for data consistency.
Routes are usually broken into sections based on habitat.
(Some routes have only one section, and that is OK!) Others may have 2 or more sections, depending on how many major habitats your route traverses.
Sections are identified on your data sheet by a capital letter at the top of a column; a route with 3 sections will have Section columns A, B, and C, for example.
Program Directors or your Outreach Coordinator will work with you to determine the habitat designations for route sections.
Note that these habitat designations only need to be done once, when the route is first being established.
If any habitat section changes significantly (e.g., a new clearcut, or new development), please write a note on your data sheet, and work with your coordinator or the CarBMP Director to make sure the change is noted in PollardBase.
Habitats are based on a number of features, including openness (lack of closed-canopy forest/shrubland), and human development (golf course, agriculture, parking lots, housing units).
When evaluating the habitat type for each section, think big picture.
If the habitat appears to change for less than a couple hundred feet or so (for example when a trail along an edge dips into the forest for a short distance), then it may not need a new section or habitat designation.
Some habitats and sections can be fairly variable.
Work with your Outreach Coordinator or the CarBMP Director to determine the appropriate habitat designations for your sections, and please use only the designations listed below.
Note that each primary designation can have multiple sub-types, which can be noted in the Route Description in PollardBase.
Open habitats (less than 25% tree presence):
Agricultural: croplands, active pasture, golf course, etc.
Old field: recently cleared or recently in agriculture (but not currently actively ag land); fallow cropland, regenerating clearcut; hayfield (usually but not necessarily with a mix of native and exotic grasses)
Open Wetland: open marsh, bog, waterfowl impoundment, or other open wetland
Dunes: primarily sandy, coastal habitats with grasses and various wildflowers and often significant portions of bare ground
Partially open habitats (mix of open areas and forested areas)
Powerline ROW (Right of Way): subtypes include with hardwood forest on one or both sides, pine forest on one or both sides, HW forest on one side and pine forest on other side, etc.
Edge: Route travels near edge of mature forest (conifer or hardwood) and large open area (with or without scrubby/shrubby patches)
Savanna: Scattered trees and shrubs but not a continuous closed forest; longleaf pine savanna for example
Closed habitats
Deciduous Forest: Path through mostly closed-canopy forest with greater than 75% deciduous hardwoods
Coniferous Forest: Path through mostly closed-canopy evergreen forest with greater than 75% conifers
Mixed Forest: Path through mixed forest with less than 75% dominated by either hardwoods or pines
Swamp Forest: Path through a swamp, either hardwood or cypress
SAFETY
- Bring a buddy with you if you can. If not, be sure to notify someone when you are going into the field and plan to be back. When you return, be sure to notify them you have returned safely.
- Be sure to take water, especially on hot days.
- Bring your cell phone in case you need to call for an emergency – it is also great for taking photos of your route sections, butterflies, plants, etc., as well as for determining start/end times and local temperatures!
- If allergic to bee stings, bring an EpiPen or bee-sting kit, and if you get stung, follow appropriate emergency procedures.
- Learn how to identify and avoid contact with Poison Ivy, Poison Oak, and Poison Sumac. Poison Ivy is widespread in our area, and both Poison Oak and Poison Sumac grow in parts of the Carolinas. Contact with these plants may cause extreme discomfort!
- Take precautions to prevent tick bites, and be sure to check yourself as soon as possible for ticks when you are out of the field.
- The CarBMP is not responsible for any injuries, accidents, or loss of property incurred while conducting volunteer surveys.
HOW TO ENTER YOUR DATA INTO POLLARDBASE
Once you have conducted a survey and have a completed data sheet in hand, the next step is to sit down at your computer and enter the data into PollardBase, the online data portal.
(If your route doesn't appear in PollardBase, please contact the CarBMP Director.)
1. Go to PollardBase.org/Carolinas
2. Click Log in at the top right and enter your user name and password
3. Once logged in, note menu items at top of page and click Routes in the menu bar at the top of the page
4. Scroll to your route, and click on + Report Survey. This takes you to the page subtitled Create Survey, and the Route box should be automatically populated with the route you selected on the previous page
5. On the Create Survey page, first answer the question, Was the survey completed?
6. Next, note there are several tabs (People, Date and Time, Conditions, Observations, Notes, Images/Files, Incidentals).
And note there is a Save Survey button at the bottom.
First fill out the requested information on all of the tabs, then save the survey.
See below for instructions for each tab.
7. Starting with the People tab, fill in the name of the person who conducted the survey (in most cases, this will be you).
If you were alone, you only need to fill in your name as the Observer/Spotter, then move to the next tab.
If anyone else accompanied you, fill in the appropriate spaces, then move to the next tab. Unless this is your first time, you can usually just type the first couple of letters, and the system will auto-fill the rest of your name.
Use the Tab button or your mouse to move to the next field.
8. Date and Time: Using military time (e.g., 1pm = 13:00) enter the date, starting time, and ending time for the survey.
If you paused the survey for any reason (rain, photography, chasing down butterflies to confirm ID, chat with a passerby, etc.), enter the total duration of your pause time in minutes.
This is only important if the total pause time exceeds ~3-4 minutes.
9. Conditions: enter the weather conditions your recorded on your field sheet.
10. Observations: this is where you will enter your butterfly sightings.
Start by clicking in the Taxon box.
This will pop up a list of possible species.
Start typing your species name (e.g. mon will take you to Monarch), and the pop up menu will highlight options or simply populate the cell.
If the wrong species populates, you can scroll to the correct species with mouse or up/down arrow or try re-typing.
Also note that you can use keyboard shortcuts like the Tab key to move between fields, thus minimizing mouse work.
11. Notes: you can leave this blank or add relevant field notes like Forest along section A was recently clearcut or Section B meadow recently mowed, or anything else of interest.
12. Images/Files: If you took relevant photos along the route, feel free to add them here. Otherwise, you can ignore this tab.
13. Once finished, click Save Survey at the bottom! This will take you to a summary screen. Please do a quick review to make sure there were no typos during data entry. Note, too, you can view all surveys by clicking on the Surveys tab in the top menu bar.
14. If you spot a mistake and you need to edit your survey, follow these instructions:
Click on My account at the top right of the page.
Click on Authored Surveys
Find the survey you entered that needs editing, and click on Edit Survey under the Edit Link column on the right. Makes your edits, and save survey again. Easy-peasy!
This is a work in progess...To be continued!
HOW TO CREATE A DIGITAL MAP USING GAIA GPS PHONE APP
HOW TO CREATE A NEW ROUTE IN POLLARDBASE
- Please contact the CarBMP Director to create a new Route